NLB を削除できない場合、
API Gateway に VPC links の設定が残っている場合が多い。
API Gateway で VPC links で NLB を登録していたが、先にその設定を解除(削除)する必要がある。
NLB を削除できない場合、
API Gateway に VPC links の設定が残っている場合が多い。
API Gateway で VPC links で NLB を登録していたが、先にその設定を解除(削除)する必要がある。
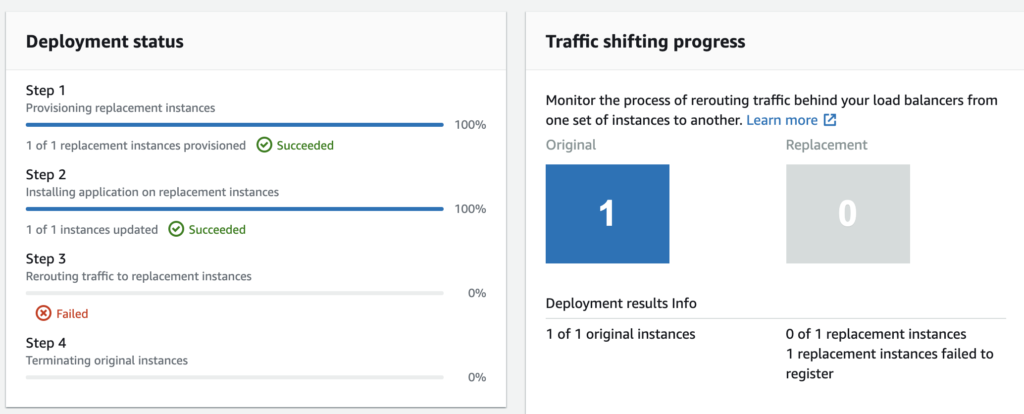
CodeDeploy で Step 3 で失敗することがある。
The overall deployment failed because too many individual instances failed deployment, too few healthy instances are available for deployment, or some instances in your deployment group are experiencing problems.
上記エラーの対処をまとめる。
原因を探っていくと、AllowTraffic で 1時間以上も時間がかかって失敗していた。
この処理の Script の中身を確認するものの何も書かれていない。
この原因について調査し、原因がわかったので備忘録として記載すると、
これは LoadBalancer から新しくDeploy されたインスタンスへのトラフィックが流れない事が原因だった。
具体的に言うと LoadBalancer から新インスタンスへの health check が通っていない状況。
LoadBalancer の health check を修正する事で deploy が成功するようになった。
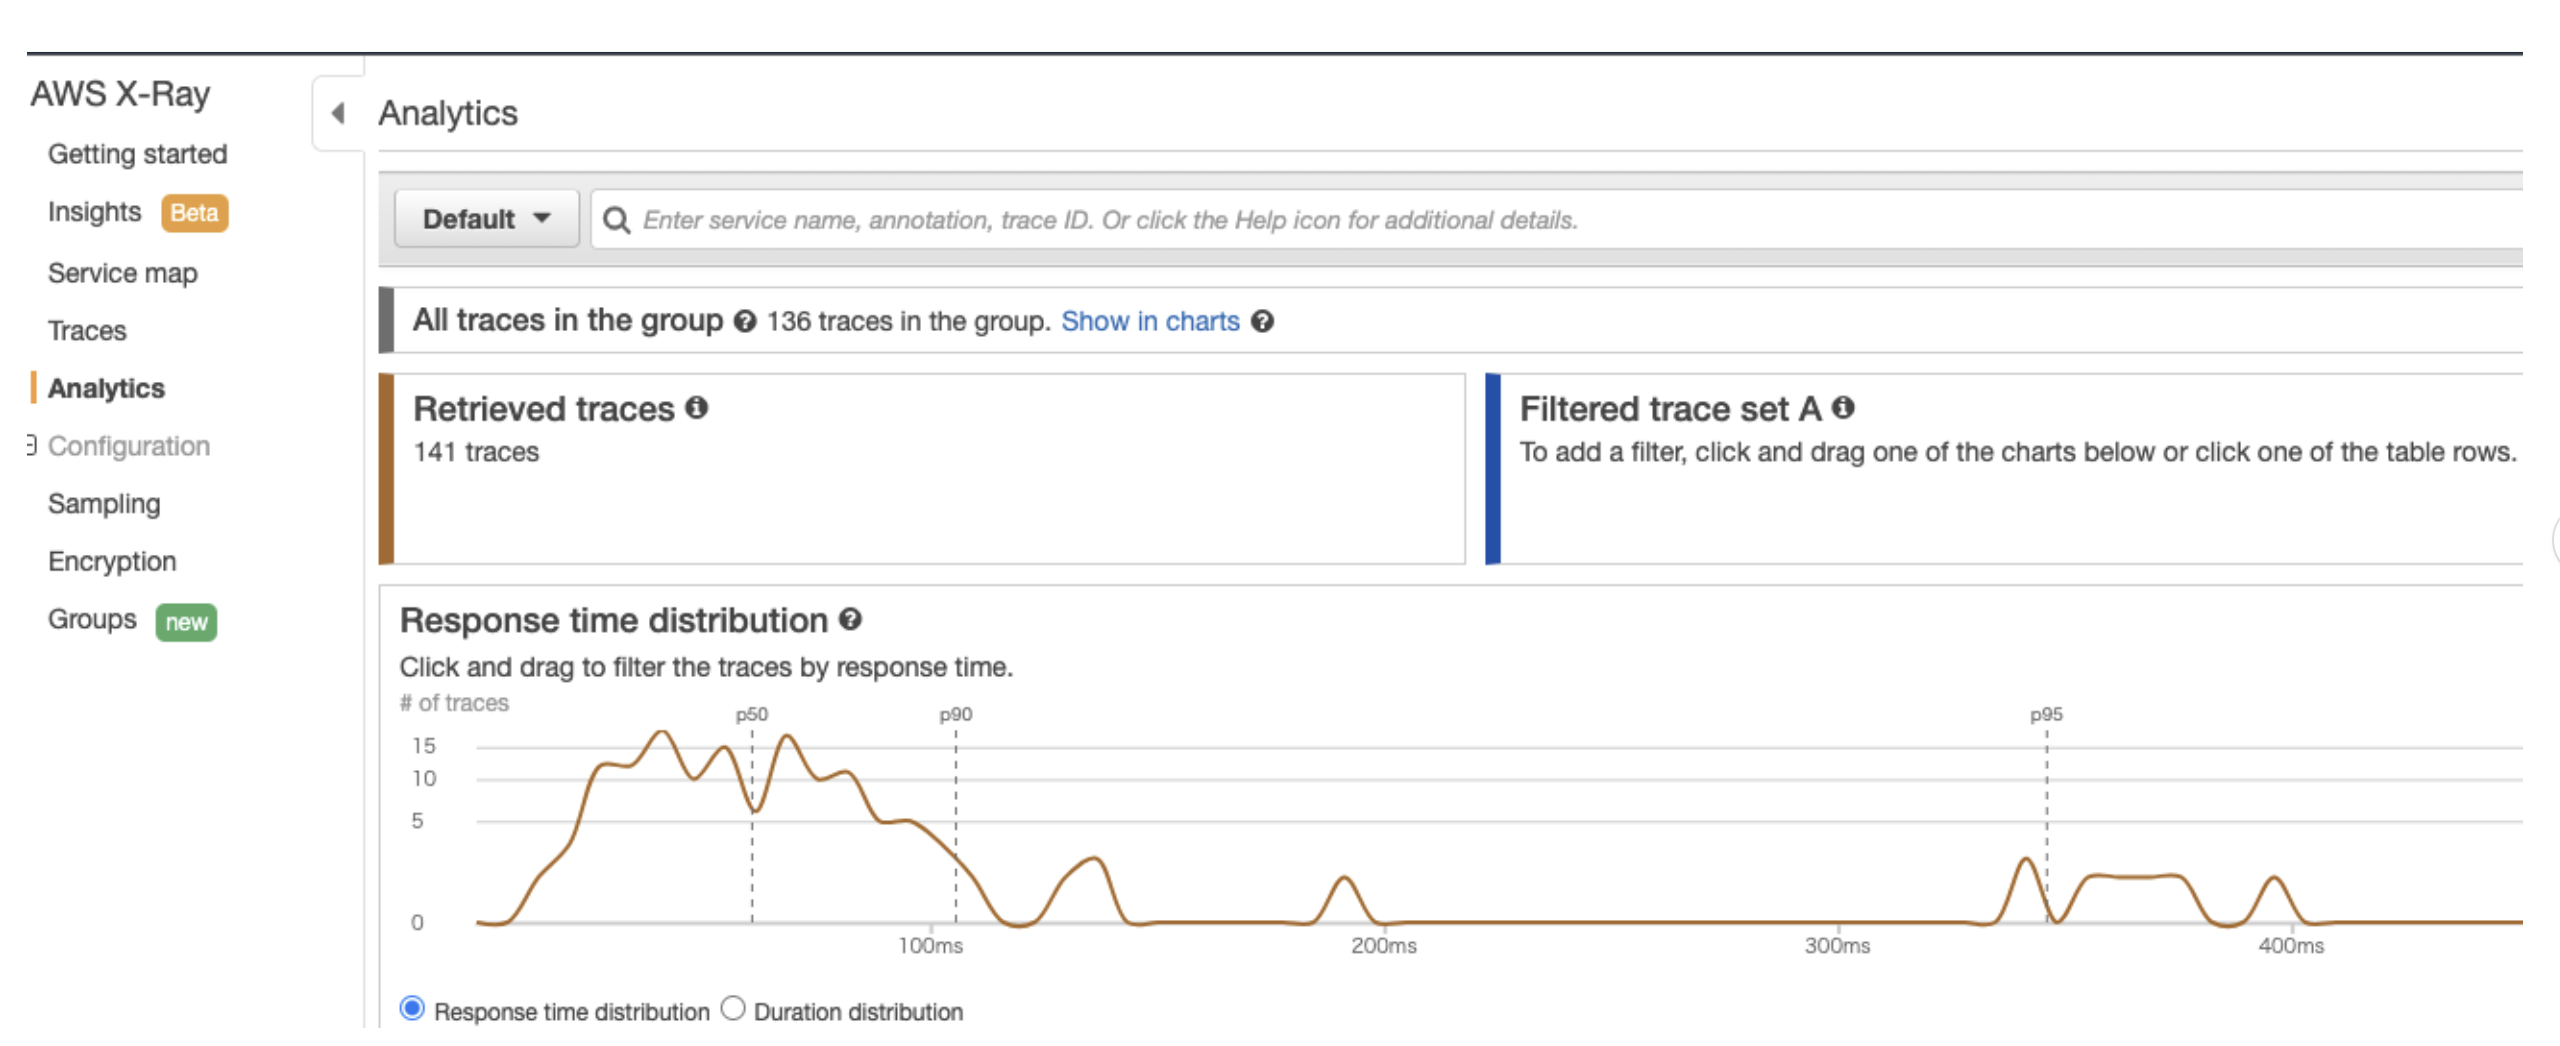
パーセントと、パーセンタイルを比べるとわかりやすい。
一般的な パーセントの場合は、率をあらわす。
50パーセントは全体に対し、半分がという意味になる。
一方でパーセンタイルは似たようでちょっと違う。
全体を 100個に区切り、
小さい方順にソートして 何番目にあるかを表現されている。
p50 (50パーセンタイ)ルの場合は、
下から 50/100に位置しているデータ。
p90 (90パーセンタイル)の場合は、
下から 90/100に位置しているデータ。
p95 (95パーセンタイル)の場合は、
下から 95/100に位置しているデータ。
となる。
機械学習ではなく xray でもこのパーセンタイルを採用しているが、おそらく理由は、
それより遅い異常値を弾くことで精度の高い統計情報にするためだと考える。
CloudWatch の Dimensions を知りたいが、
ブラウザで AWS のコンソール画面に入っても、Dimensions を見ることはできない。
この時の確認の仕方を紹介。
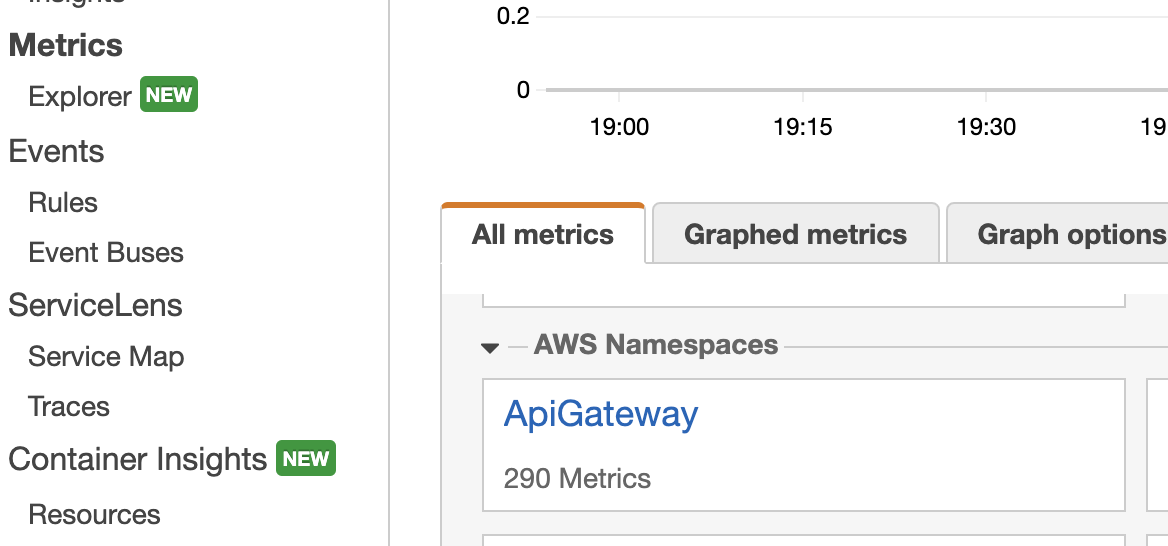
コンソールからNamespaces を調べる。
今回 API gateway 。
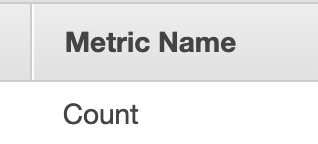
クリックしていくと、 Metric Name を選ぶので任意のものを選ぶ。
今回は Count
上記メモとしてひかえ、aws cli を投げる
aws cloudwatch list-metrics
--namespace AWS/ApiGateway
--metric-name Count
以下のようなレスポンスが返ってくる
{ "Metrics": [ { "Namespace": "AWS/ApiGateway", "MetricName": "Count", "Dimensions": [ { "Name": "ApiName", "Value": "Tsukada API" }, { "Name": "Resource", "Value": "/info/name/_search" },
Dimensions を確認することができる
CloudWatch logs から lambda subscription-filter しようとした際、以下のようなエラーになった。
An error occurred (InvalidParameterException) when calling the PutSubscriptionFilter operation: Could not execute the lambda function. Make sure you have given CloudWatch Logs permission to execute your function.
対処法は以下の通り lambda に対しパーミッションを追加する必要がある
aws --profile mfa lambda add-permission --function-name "lambda function name" \ --statement-id "lambdapermission-xxxxxxxxx-uniq" \ --principal "logs.ap-northeast-1.amazonaws.com" \ --action "lambda:InvokeFunction" \ --source-arn "arn:aws:logs:ap-northeast-1:1234567890:log-group:/aws/lambda/hogehoge-lambda-function:*" \ --source-account "1234567890" --region=ap-northeast-1
docker では entrypoint
が設定されていると、
docker の中に入るために 起動シェルを変更したとしても
entrypoint の引数として認識されてしまう事がある。
entrypoint を変更する事で、コンテナ内に入る事が可能になる。
“`
docker run -it --rm --entrypoint /bin/bash tsukada/image
robot framework を実施しようとしてエラーになった。
`Valid Login :: A test suite with a single test for valid login. `
その対策についてまとめる。
geckodriver の version が古いとエラーになる
============================================================================== Valid Login :: A test suite with a single test for valid login. ============================================================================== Valid Login | FAIL | WebDriverException: Message: newSession ------------------------------------------------------------------------------ Valid Login :: A test suite with a single test for valid login. | FAIL | 1 critical test, 0 passed, 1 failed 1 test total, 0 passed, 1 failed ============================================================================== Output: /private/tmp/WebDemo/output.xml Log: /private/tmp/WebDemo/log.html Report: /private/tmp/WebDemo/report.html
geckodriver -h
を行なったところ、 version は
geckodriver 0.19.0 だった。
geckodriverを新しくすることで解決できる
https://github.com/mozilla/geckodriver/releases/tag/v0.26.0
をダウンロード
その後、
`mv geckodriver /usr/local/bin`
を実施して移動させる。
geckodriver -h
すると
`geckodriver 0.26.0 (e9783a644016 2019-10-10 13:38 +0000) `
になったことを確認。
再度 robot framework を実施すると、パスできるようになった。
============================================================================== Valid Login :: A test suite with a single test for valid login. ============================================================================== Valid Login | PASS | ------------------------------------------------------------------------------ Valid Login :: A test suite with a single test for valid login. | PASS | 1 critical test, 1 passed, 0 failed 1 test total, 1 passed, 0 failed ============================================================================== Output: /private/tmp/WebDemo/output.xml Log: /private/tmp/WebDemo/log.html Report: /private/tmp/WebDemo/report.html
以下の一行のみ。
yum install python3
実施結果は以下の通り
# yum install python3 Loaded plugins: fastestmirror Loading mirror speeds from cached hostfile * base: mirror.team-cymru.com * epel: mirror.steadfastnet.com * extras: mirrors.liquidweb.com * remi-safe: mirror.team-cymru.com * updates: centosz6.centos.org Resolving Dependencies --> Running transaction check ---> Package python3.x86_64 0:3.6.8-13.el7 will be installed --> Processing Dependency: python3-libs(x86-64) = 3.6.8-13.el7 for package: python3-3.6.8-13.el7.x86_64 --> Processing Dependency: python3-setuptools for package: python3-3.6.8-13.el7.x86_64 --> Processing Dependency: python3-pip for package: python3-3.6.8-13.el7.x86_64 --> Processing Dependency: libpython3.6m.so.1.0()(64bit) for package: python3-3.6.8-13.el7.x86_64 --> Running transaction check ---> Package python3-libs.x86_64 0:3.6.8-13.el7 will be installed --> Processing Dependency: libtirpc.so.1()(64bit) for package: python3-libs-3.6.8-13.el7.x86_64 ---> Package python3-pip.noarch 0:9.0.3-7.el7_7 will be installed ---> Package python3-setuptools.noarch 0:39.2.0-10.el7 will be installed --> Running transaction check ---> Package libtirpc.x86_64 0:0.2.4-0.16.el7 will be installed --> Finished Dependency Resolution Dependencies Resolved ============================================================================================================================================================================================================ Package Arch Version Repository Size ============================================================================================================================================================================================================ Installing: python3 x86_64 3.6.8-13.el7 base 69 k Installing for dependencies: libtirpc x86_64 0.2.4-0.16.el7 base 89 k python3-libs x86_64 3.6.8-13.el7 base 7.0 M python3-pip noarch 9.0.3-7.el7_7 updates 1.8 M python3-setuptools noarch 39.2.0-10.el7 base 629 k Transaction Summary ============================================================================================================================================================================================================ Install 1 Package (+4 Dependent packages) Total download size: 9.5 M Installed size: 48 M Is this ok [y/d/N]: y Downloading packages: (1/5): libtirpc-0.2.4-0.16.el7.x86_64.rpm | 89 kB 00:00:01 (2/5): python3-3.6.8-13.el7.x86_64.rpm | 69 kB 00:00:01 (3/5): python3-setuptools-39.2.0-10.el7.noarch.rpm | 629 kB 00:00:00 (4/5): python3-pip-9.0.3-7.el7_7.noarch.rpm | 1.8 MB 00:00:00 (5/5): python3-libs-3.6.8-13.el7.x86_64.rpm | 7.0 MB 00:00:00 ------------------------------------------------------------------------------------------------------------------------------------------------------------------------------------------------------------ Total 3.7 MB/s | 9.5 MB 00:00:02 Running transaction check Running transaction test Transaction test succeeded Running transaction Installing : libtirpc-0.2.4-0.16.el7.x86_64 1/5 Installing : python3-setuptools-39.2.0-10.el7.noarch 2/5 Installing : python3-libs-3.6.8-13.el7.x86_64 3/5 Installing : python3-3.6.8-13.el7.x86_64 4/5 Installing : python3-pip-9.0.3-7.el7_7.noarch 5/5 Verifying : python3-pip-9.0.3-7.el7_7.noarch 1/5 Verifying : python3-3.6.8-13.el7.x86_64 2/5 Verifying : libtirpc-0.2.4-0.16.el7.x86_64 3/5 Verifying : python3-setuptools-39.2.0-10.el7.noarch 4/5 Verifying : python3-libs-3.6.8-13.el7.x86_64 5/5 Installed: python3.x86_64 0:3.6.8-13.el7 Dependency Installed: libtirpc.x86_64 0:0.2.4-0.16.el7 python3-libs.x86_64 0:3.6.8-13.el7 python3-pip.noarch 0:9.0.3-7.el7_7 python3-setuptools.noarch 0:39.2.0-10.el7 Complete!
pip3
も一緒にインストールされる
GCP で key を有効化する手順についてよく忘れるのでメモ。
service account によって払い出した key を読み込む
gcloud auth activate-service-account --key-file xxxx.json Activated service account credentials for: [xxxx@xxxx.iam.gserviceaccount.com]
Cloud Storage に対する確認を行いたい場合、以下の様にアクセスする。
gsutil ls gs://hogehoge-bucket/
GCP(CloudStorage) で署名付き URL を作成する方法を紹介します。
requirements.txt にoauth2client を記載します。
oauth2client
install します。
pip3 install -r requirements.txt
python でスクリプトを書きます。今回は 120秒間だけ見せることにしました。
import time import urllib from datetime import datetime, timedelta import os import base64 from oauth2client.service_account import ServiceAccountCredentials API_ACCESS_ENDPOINT = 'https://storage.googleapis.com' def sign_url(bucket, bucket_object, method, expires_after_seconds=120): gcs_filename = '/%s/%s' % (bucket, bucket_object) content_md5, content_type = None, None credentials = ServiceAccountCredentials.from_json_keyfile_name('xxxxxxxx.json') google_access_id = credentials.service_account_email expiration = datetime.now() + timedelta(seconds=expires_after_seconds) expiration = int(time.mktime(expiration.timetuple())) signature_string = '\n'.join([ method, content_md5 or '', content_type or '', str(expiration), gcs_filename]) _, signature_bytes = credentials.sign_blob(signature_string) signature = base64.b64encode(signature_bytes) query_params = {'GoogleAccessId': google_access_id, 'Expires': str(expiration), 'Signature': signature} return '{endpoint}{resource}?{querystring}'.format( endpoint=API_ACCESS_ENDPOINT, resource=gcs_filename, querystring=urllib.parse.urlencode(query_params)) if __name__ == '__main__': url = sign_url('project-name', 'test/coco.png', 'GET') print(url)
黄色で塗った部分が、主に変更する場所になります。
結果
python3 main.py https://storage.googleapis.com/project/test/coco.png?GoogleAccessId=signed-url%40project&Expires=1581540902&Signature=xxxx
https://cloudpack.media/45121