はじめに
laravelのrouterとModelのみのシンプルな機能でデータベースから値を取得し画面に表示する。
modelとmigrationを追加
-mオプションでmigrationファイルも一緒に作ってくれるようになる。
php artisan make:model Photo -m

成功したようだ。
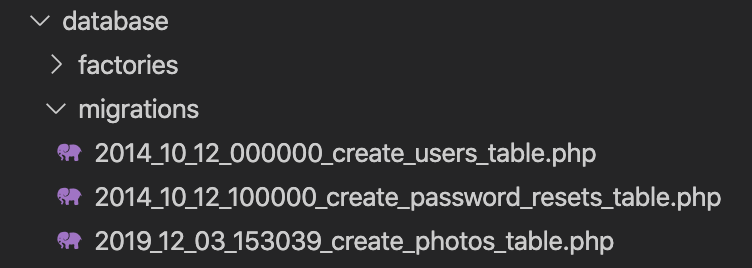
migrationディレクトリ配下にmigrationファイルも一緒に作られた。

注意したいのが、“` Photo “` という名前で作ったのに、migrationファイルの中では複数形の “` photos “` になっているという点だ。
今回、path,imageable_id,imageable_typeというカラムを追加した。
    public function up()
    {
        Schema::create('photos', function (Blueprint $table) {
            $table->increments('id');
            $table->string('path');
            $table->integer('imageable_id');
            $table->string('imageable_type');
            $table->timestamps();
        });
    }
migration を実施
$ php artisan migrate
Migration table created successfully.
Migrating: 2014_10_12_000000_create_users_table
Migrated:  2014_10_12_000000_create_users_table
Migrating: 2014_10_12_100000_create_password_resets_table
Migrated:  2014_10_12_100000_create_password_resets_table
Migrating: 2019_12_03_153039_create_photos_table
Migrated:  2019_12_03_153039_create_photos_table
成功したようだ

データを投入する
MySQL workbenchを用いてデータを投入する

今回は上記データを入れた。
Modelを編集する
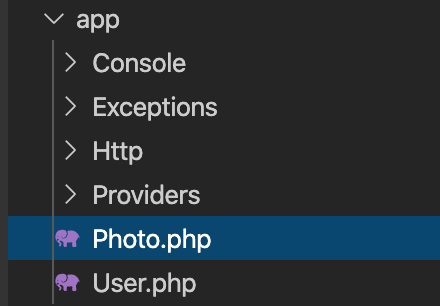
appディレクトリ配下にphp artisanコマンドで生成されたModelは格納される。

<?php

namespace App;

use Illuminate\Database\Eloquent\Model;

class Photo extends Model
{
    //
    public function imageable(){
        return $this->morphTo('App\Photo');
    }
}
Photoテーブルを参照することとする。
Routerを編集する
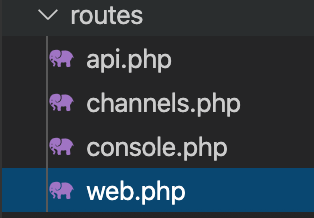
Laravel 5.5では、routesディレクトリ配下の“` web.php “`がrouterの役割を担っている。

以下の通り修正する
<?php

use App\Photo;

Route::get('user/photos', function(){
    $user = Photo::find(1);
    return $user->path;
});
結果

無事データベースの中の値の取得に成功した

